
How to Build Your Own Mobile Phone Using NodeMCU at Home
The NodeMCU is primarily a Wi-Fi microcontroller. To turn it into a phone, you need to bridge the gap between Wi-Fi/Logic and Cellular networks. This is where the SIM800L GSM Module comes in. By combining these, you can create a functional DIY mobile device.
The Core Components You’ll Need
To get started, gather these essential parts:
- Microcontroller: NodeMCU (ESP8266)
- Cellular Module: SIM800L GSM Module (Supports 2G/GPRS)
- Display: 0.96″ OLED Display (I2C) or a Nextion Touch Screen
- Input: 4×4 Matrix Keypad (for dialing) or a Touchscreen interface
- Audio: Small 8-ohm speaker and a Microphone
- Power: 3.7V Li-ion Battery with a TP4056 Charging Module and a Buck Converter (SIM800L requires steady 4V).
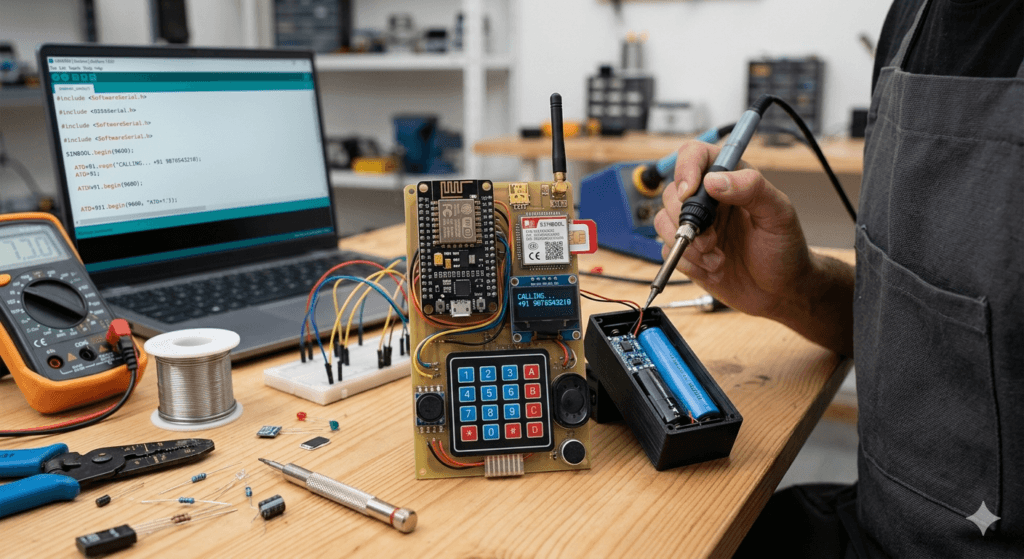
The Schematic: Connecting the Brain to the Network
The wiring is the most critical part, especially regarding power. The SIM800L is notorious for power spikes during network searches.
- Communication: You will use SoftwareSerial to communicate between the NodeMCU and the SIM800L using AT Commands.
- NodeMCU D1 (TX) -> SIM800L RX (via voltage divider)
- NodeMCU D2 (RX) -> SIM800L TX
- Display: Connect the OLED via I2C (SCL to D1, SDA to D2) to visualize your contacts and signal strength.
- Power: Never power the SIM800L directly from the NodeMCU’s 3.3V pin. Use an external battery capable of providing at least 2A bursts.
The Software: Talking in ‘AT Commands’
To make a call or send an SMS, the NodeMCU sends AT Commands to the GSM module. For example:
ATD+91XXXXXXXXXX;— This command initiates a voice call.AT+CMGS="+91XXXXXXXXXX"— This prepares the module to send a text message.
You can program the NodeMCU using the Arduino IDE. You will need to write a loop that checks for keypad input to dial numbers and displays the incoming caller ID on your OLED screen.
Features You Can Implement
- SMS Gateway: Since the NodeMCU has Wi-Fi, you could sync your DIY phone’s messages to a web dashboard.
- Emergency Tracker: Use a GPS module (like the NEO-6M) to send your location via SMS if a button is pressed.
- Custom UI: Design your own menus and fonts using the
Adafruit_GFXlibrary.
The Challenges (Keep These in Mind)
- 2G Network Availability: The SIM800L works on 2G. Ensure your local carriers still support 2G bands before starting.
- Power Management: Keeping the device slim while providing enough battery life is a fun design challenge.
- Antenna Placement: Keep the GSM antenna away from the NodeMCU’s Wi-Fi antenna to prevent signal interference.
Conclusion
Building a DIY phone with a NodeMCU is an incredible way to learn about Serial Communication, GSM protocols, and Power Electronics. It won’t replace your latest smartphone, but there is a unique pride in carrying a communication device that you built from scratch!
Are you ready to start soldering? Let me know if you need a specific code snippet for the dialing function!